Online Payment: Stripe Checkout
Last updated: July 30, 2026
Summary
After the Stripe Checkout integration is set up, you will be able to select Stripe as a payment method in Eduframe. Find out more about the details in this article.
Login or create a new Stripe account
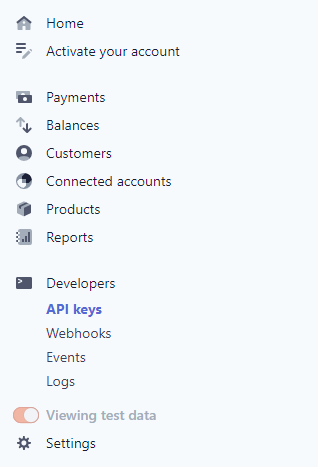
First you need a Stripe account. You do need 2 API keys. You can find these under “Developers” => “API keys”.
Create a valid api_key for Eduframe
For this, we make use of an online JSON generator tool: JSON Parser - Convert JSON to Strings Online. The text below is a template for the format for Eduframe. You can copy this and paste it in the text field on the website.
{
"public_key": "your pk here",
"private_key": "your sk here",
"payment_methods": []
}
The fields “public_key” and “private_key” are the fields where the Stripe API keys have to be entered. The public key starts with “pk_”. The private key starts with “sk_”. Copy these from Stripe and replace the text “your pk here” and “your sk here”.
Note: Stripe recommends to leave payment methods empty by only using []
Next, click on the blue button “JSON Parser”.
Make sure that you see the text “JSON is valid!” on top of the page. If this is not the case, something went wrong in the previous step. If the text “JSON is valid!” does appear, click “Copy To Clipboard” and copy the right format for Eduframe that we need in the next step.
Add a new payment method to Eduframe
The last step is adding the new payment method in Eduframe. You go to 'Settings' > 'Payment Options' and scroll to payment methods. Here you click on the button 'New payment method'.
Select 'StripeCheckout' as the Gateway and paste the copied JSON format from the previous step under API key (input field on right hand side). Give this payment method a name and then save on top of the page.
