Participant Portal
Last updated: August 20, 2026
Summary
If you are a participant (student) in one of the products (course or program), you get access to the Participant Portal of Eduframe. In this portal, you can find information like your courses, programs, grades and certificates.
Find out more about the Participant Portal in this knowledge article.
When to access the Participant Portal?
When a contact is created in Eduframe with an account, that person can access the participant portal when logging in. An account means that the contact has login credentials to access Eduframe. These are sent per email when the account is created.
More information about creating contact accounts can be found in 📄 How to Create and Import Contacts, Teachers and Organizations.
What does a participant see after logging into the participant portal?
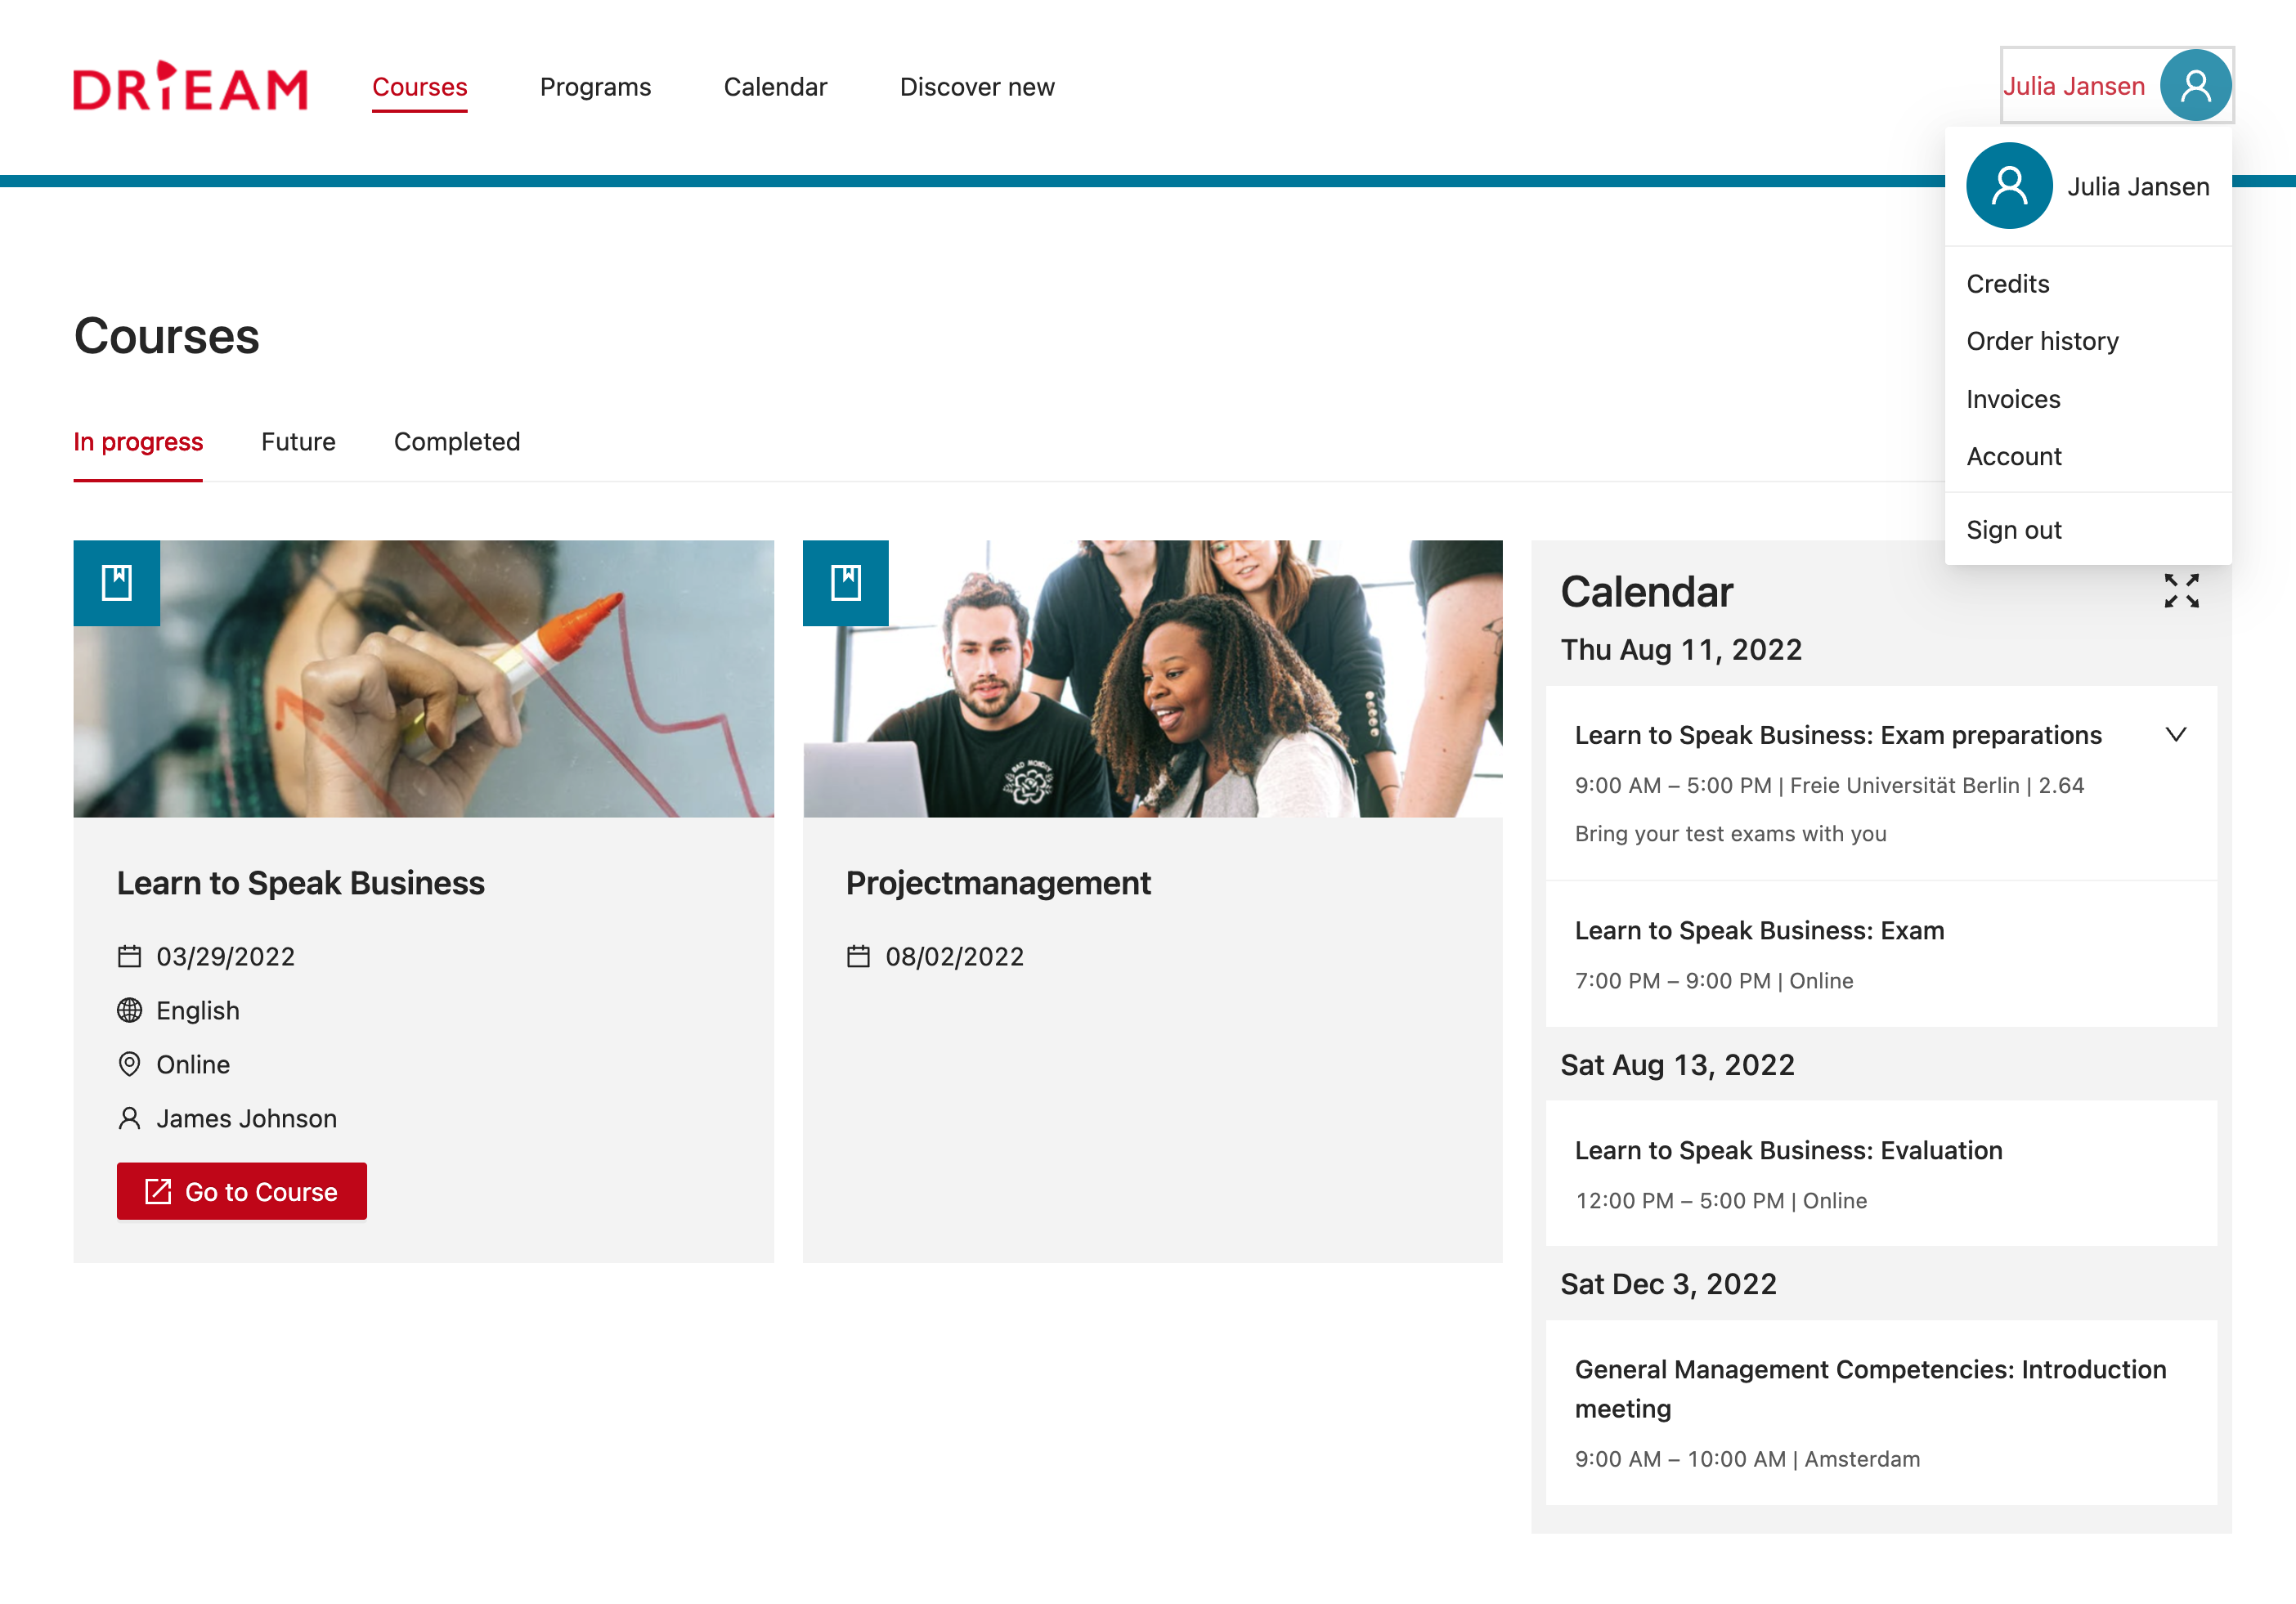
When a participant logs into the Eduframe participant portal, he or she will see:
Courses
In progress courses (active)
Future courses (confirmed)
Completed courses (completed and/or passed)
Information on these courses
Course template name
Course edition name
Teachers (optional)
Result/Grade/Certificate
Programs
Personal programs
Result/Grade/Certificate
Information on meetings (optional)
Course name
Meeting name/date/time
Meeting location
Comment from the admin
Link to website/catalog in the Discover new button (optional)
Credits
Orders
Invoices (optional)
Account information
Personal information
Reset password
Note: This concerns personal courses, programs, credits, etc. A participant can only see the products and results that belong to him/her.
Check 📄 Participant and Business Portalon how to set up all optional elements and how to adjust settings in the participant portal.
The program tab will only be shown when you are using Programs in Eduframe:

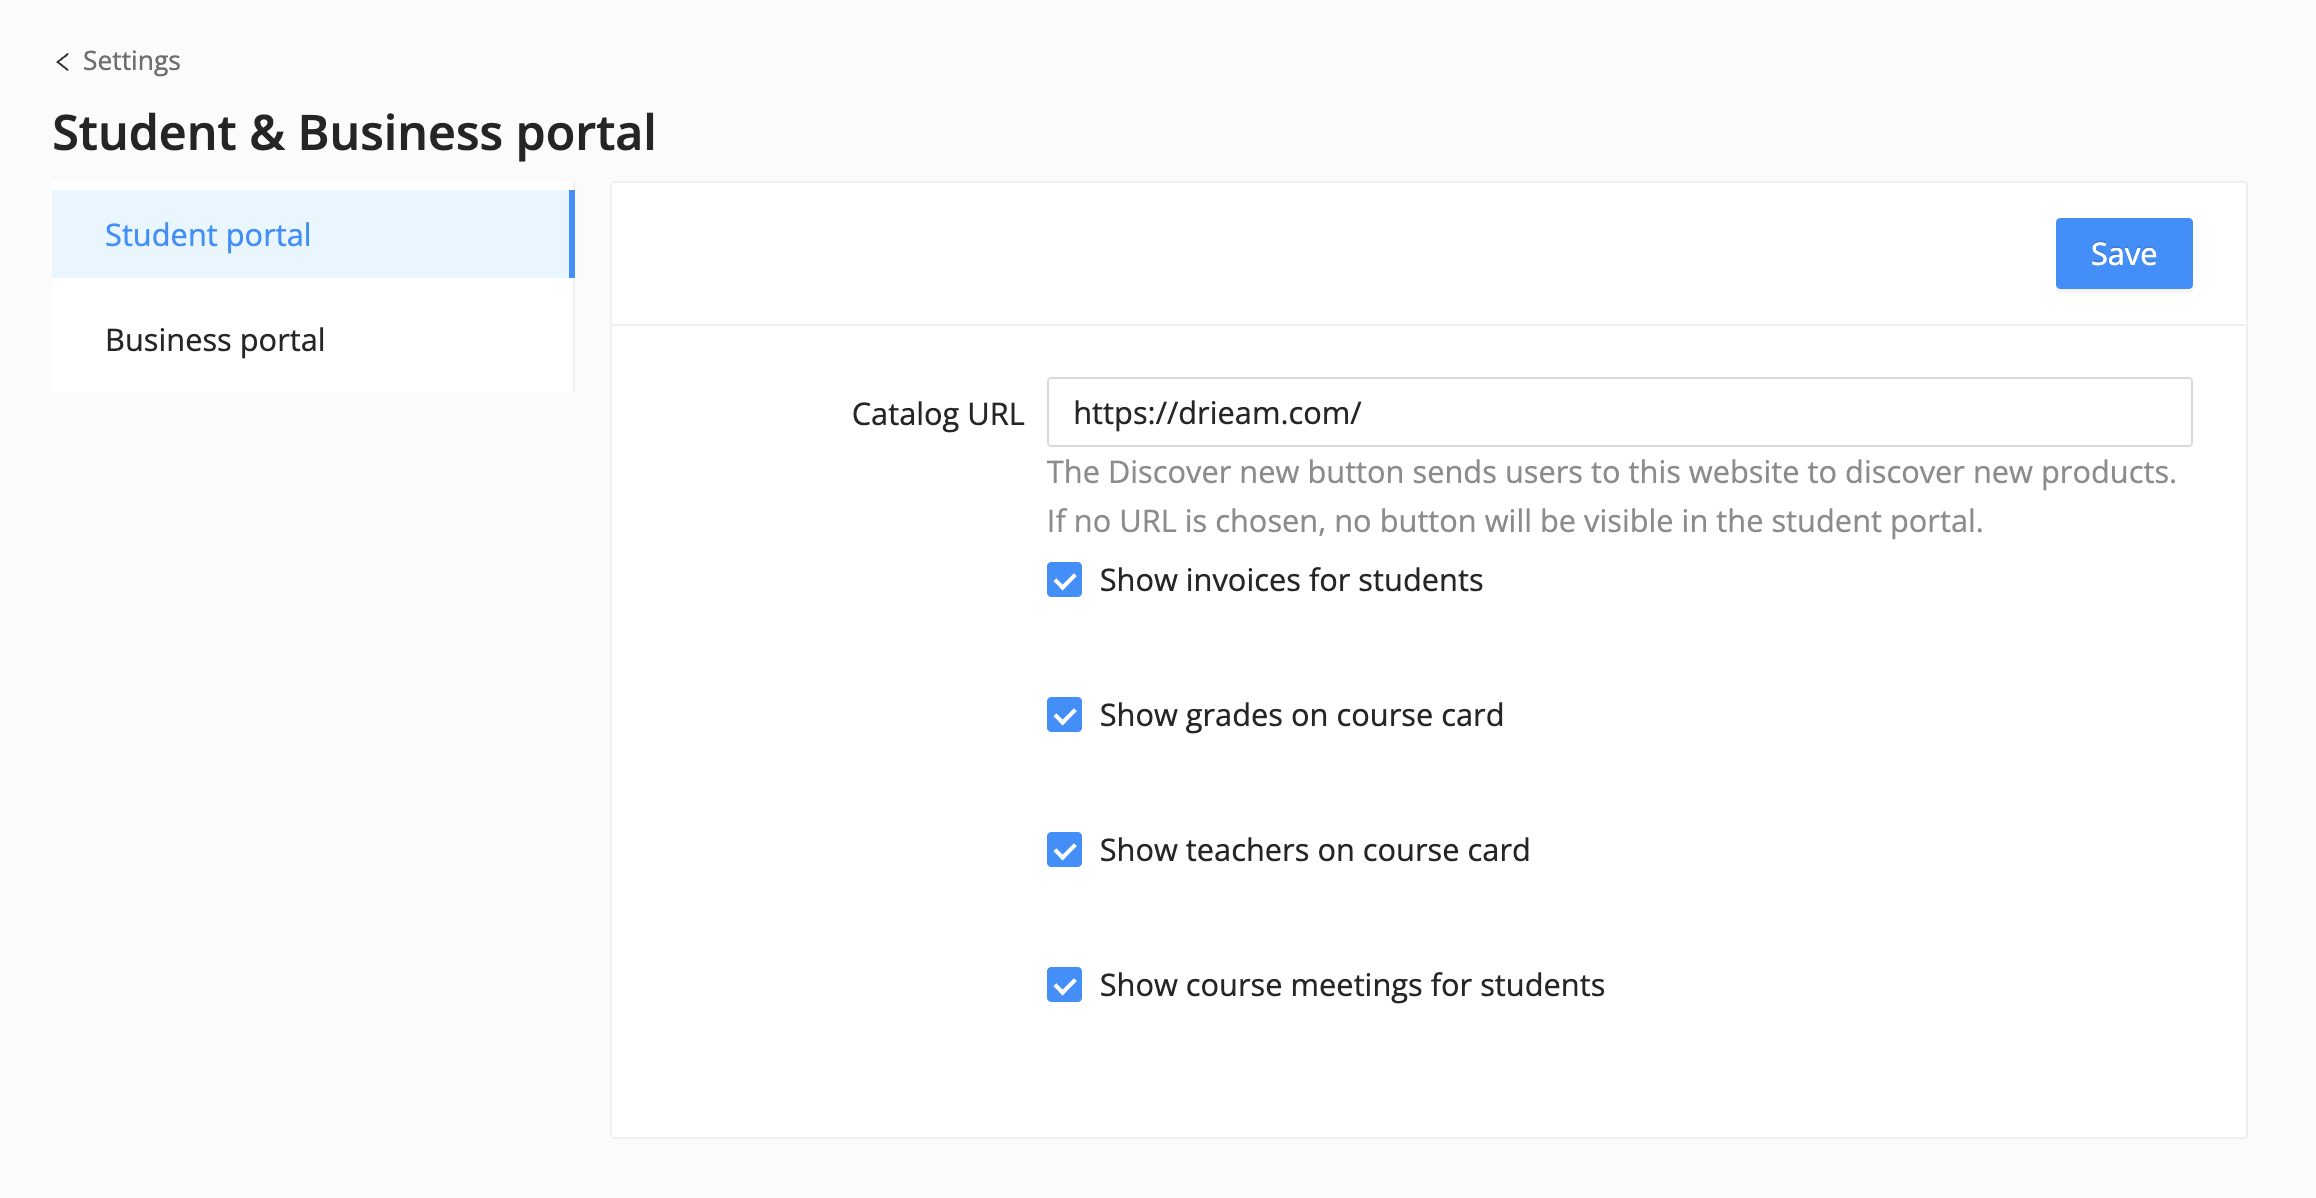
The 'Discover new' tab will guide participants to your product catalog on your website.

It will only be shown when the Catalog URL has been filled in the 'Participant and Business portal' in Settings:
How to switch between portals if you have different Eduframe roles?
If you have multiple roles, you can switch between the different Eduframe portals.
How to switch between admin/teacher and participant portal?
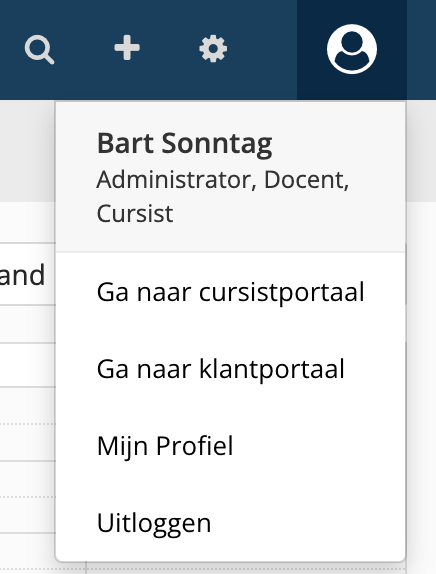
You are a participant if you have at least one enrollment. Next to being a participant, you can also be an admin or teacher in Eduframe. To switch between these roles, you can click on your name in the top right of Eduframe and switch to the Participant Portal.
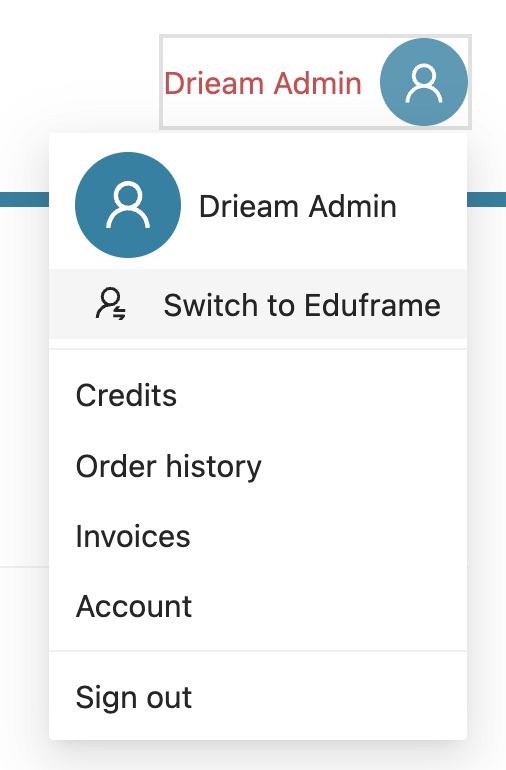
To go back to your Eduframe admin or teacher portal, click on your name in the top right and click on 'Switch to Eduframe'.
Note: If you want to switch between the admin and teacher portal this can only be done by replacing '/admin' in the URL by '/teachers/calendars/'
How to switch between the participant portal and the business portal
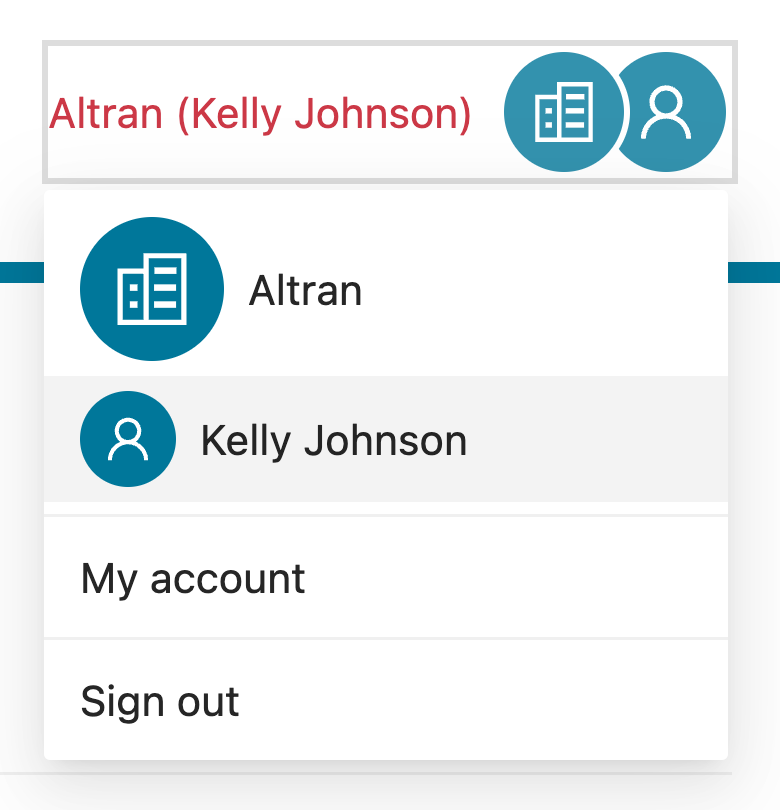
If you are a participant and also a key contact, you will have access to both the participant portal and business portal. To switch between portals, click on your name in the top right and click on your own name (to go to the participant portal) or the name of your organization (to go to the business portal). If you are key contact of multiple organizations, all organizations will be listed in the dropdown.
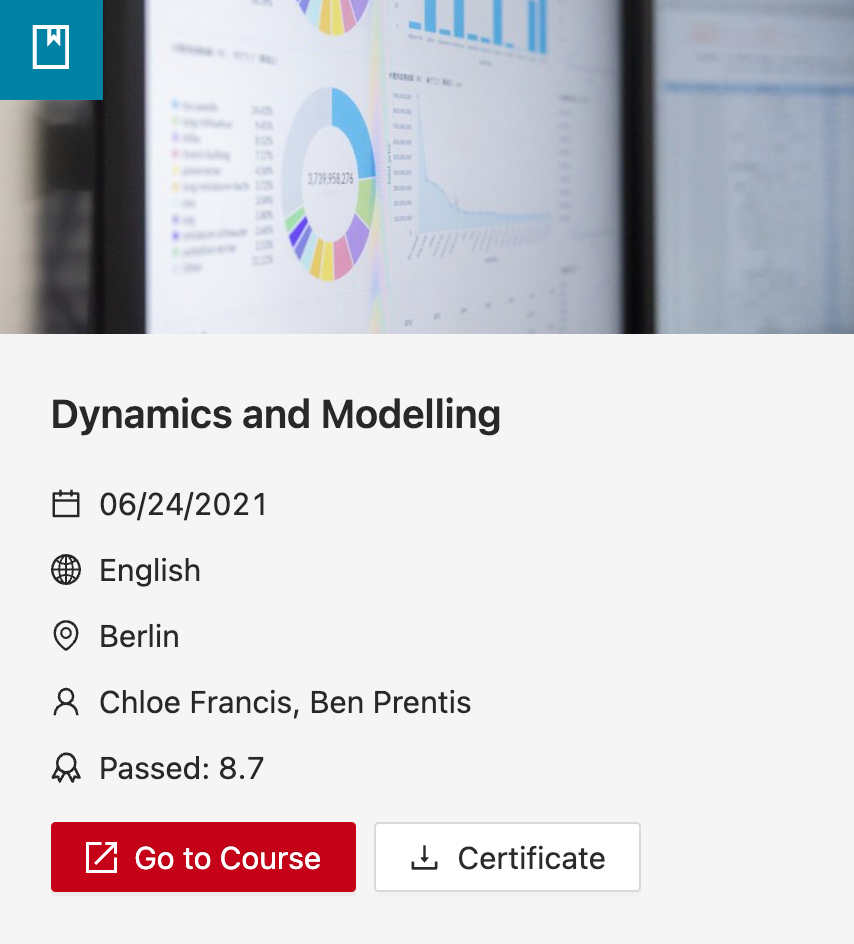
How to add an image to a course card in the Participant Portal?
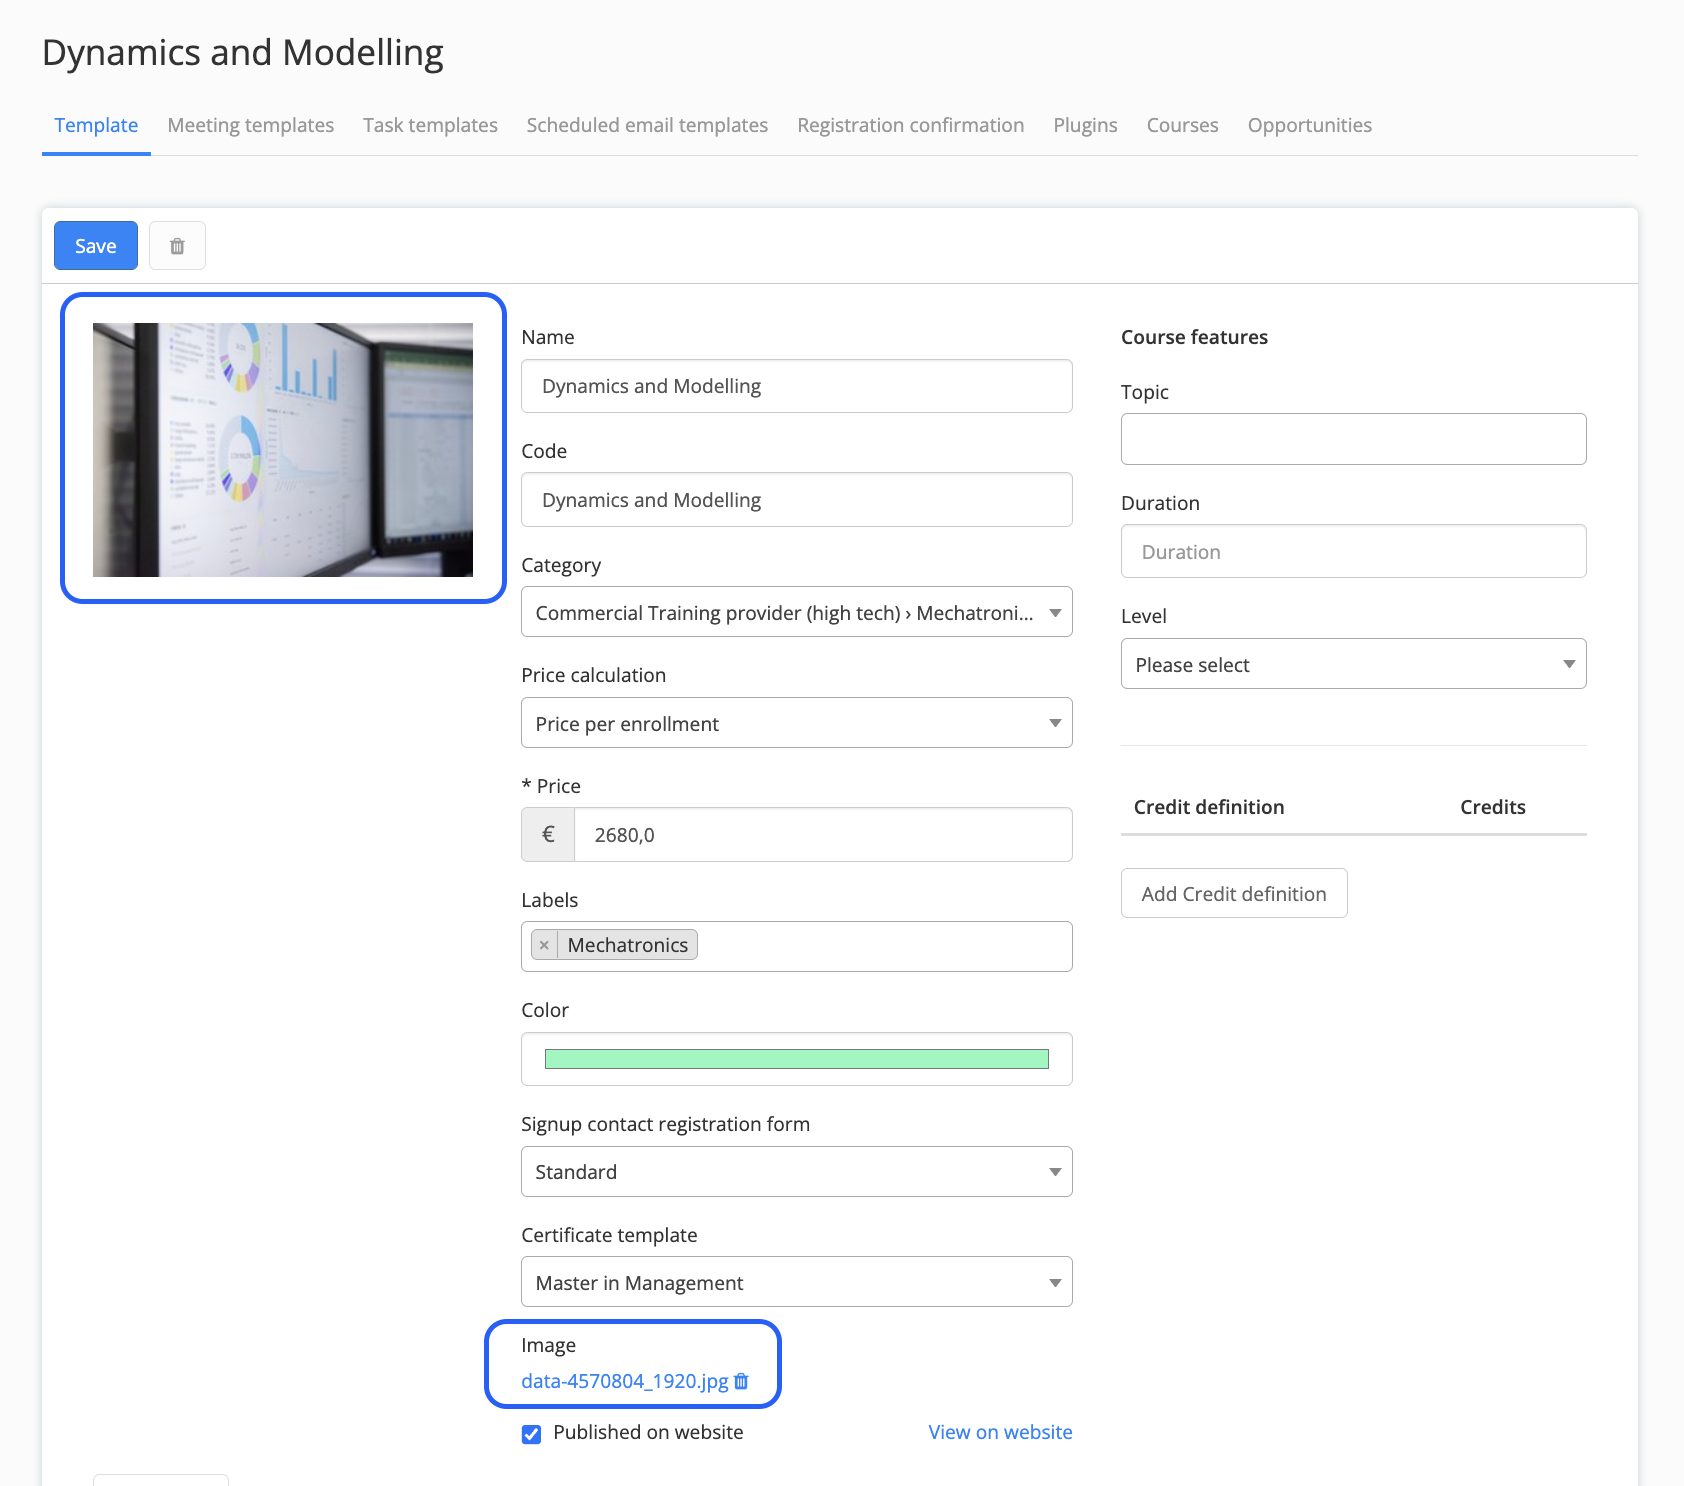
As an admin, you go to 'Courses' > 'Templates' and choose a course template. On the Template tab, there is an option to Upload an image. The image that you choose here, will be visible on the course cards in the participant portal. It can also be the image to use on your website.
After saving the image on the course template, it will automatically appear in the participant portal within the course cards.
Note: the image needs to meet the following requirements:
extension: gif, jpg, jpeg, png, tiff
size: below 5 MBs, maximum width is 4096, maximum height is 2160 pixel
How can I communicate meeting information to participants?
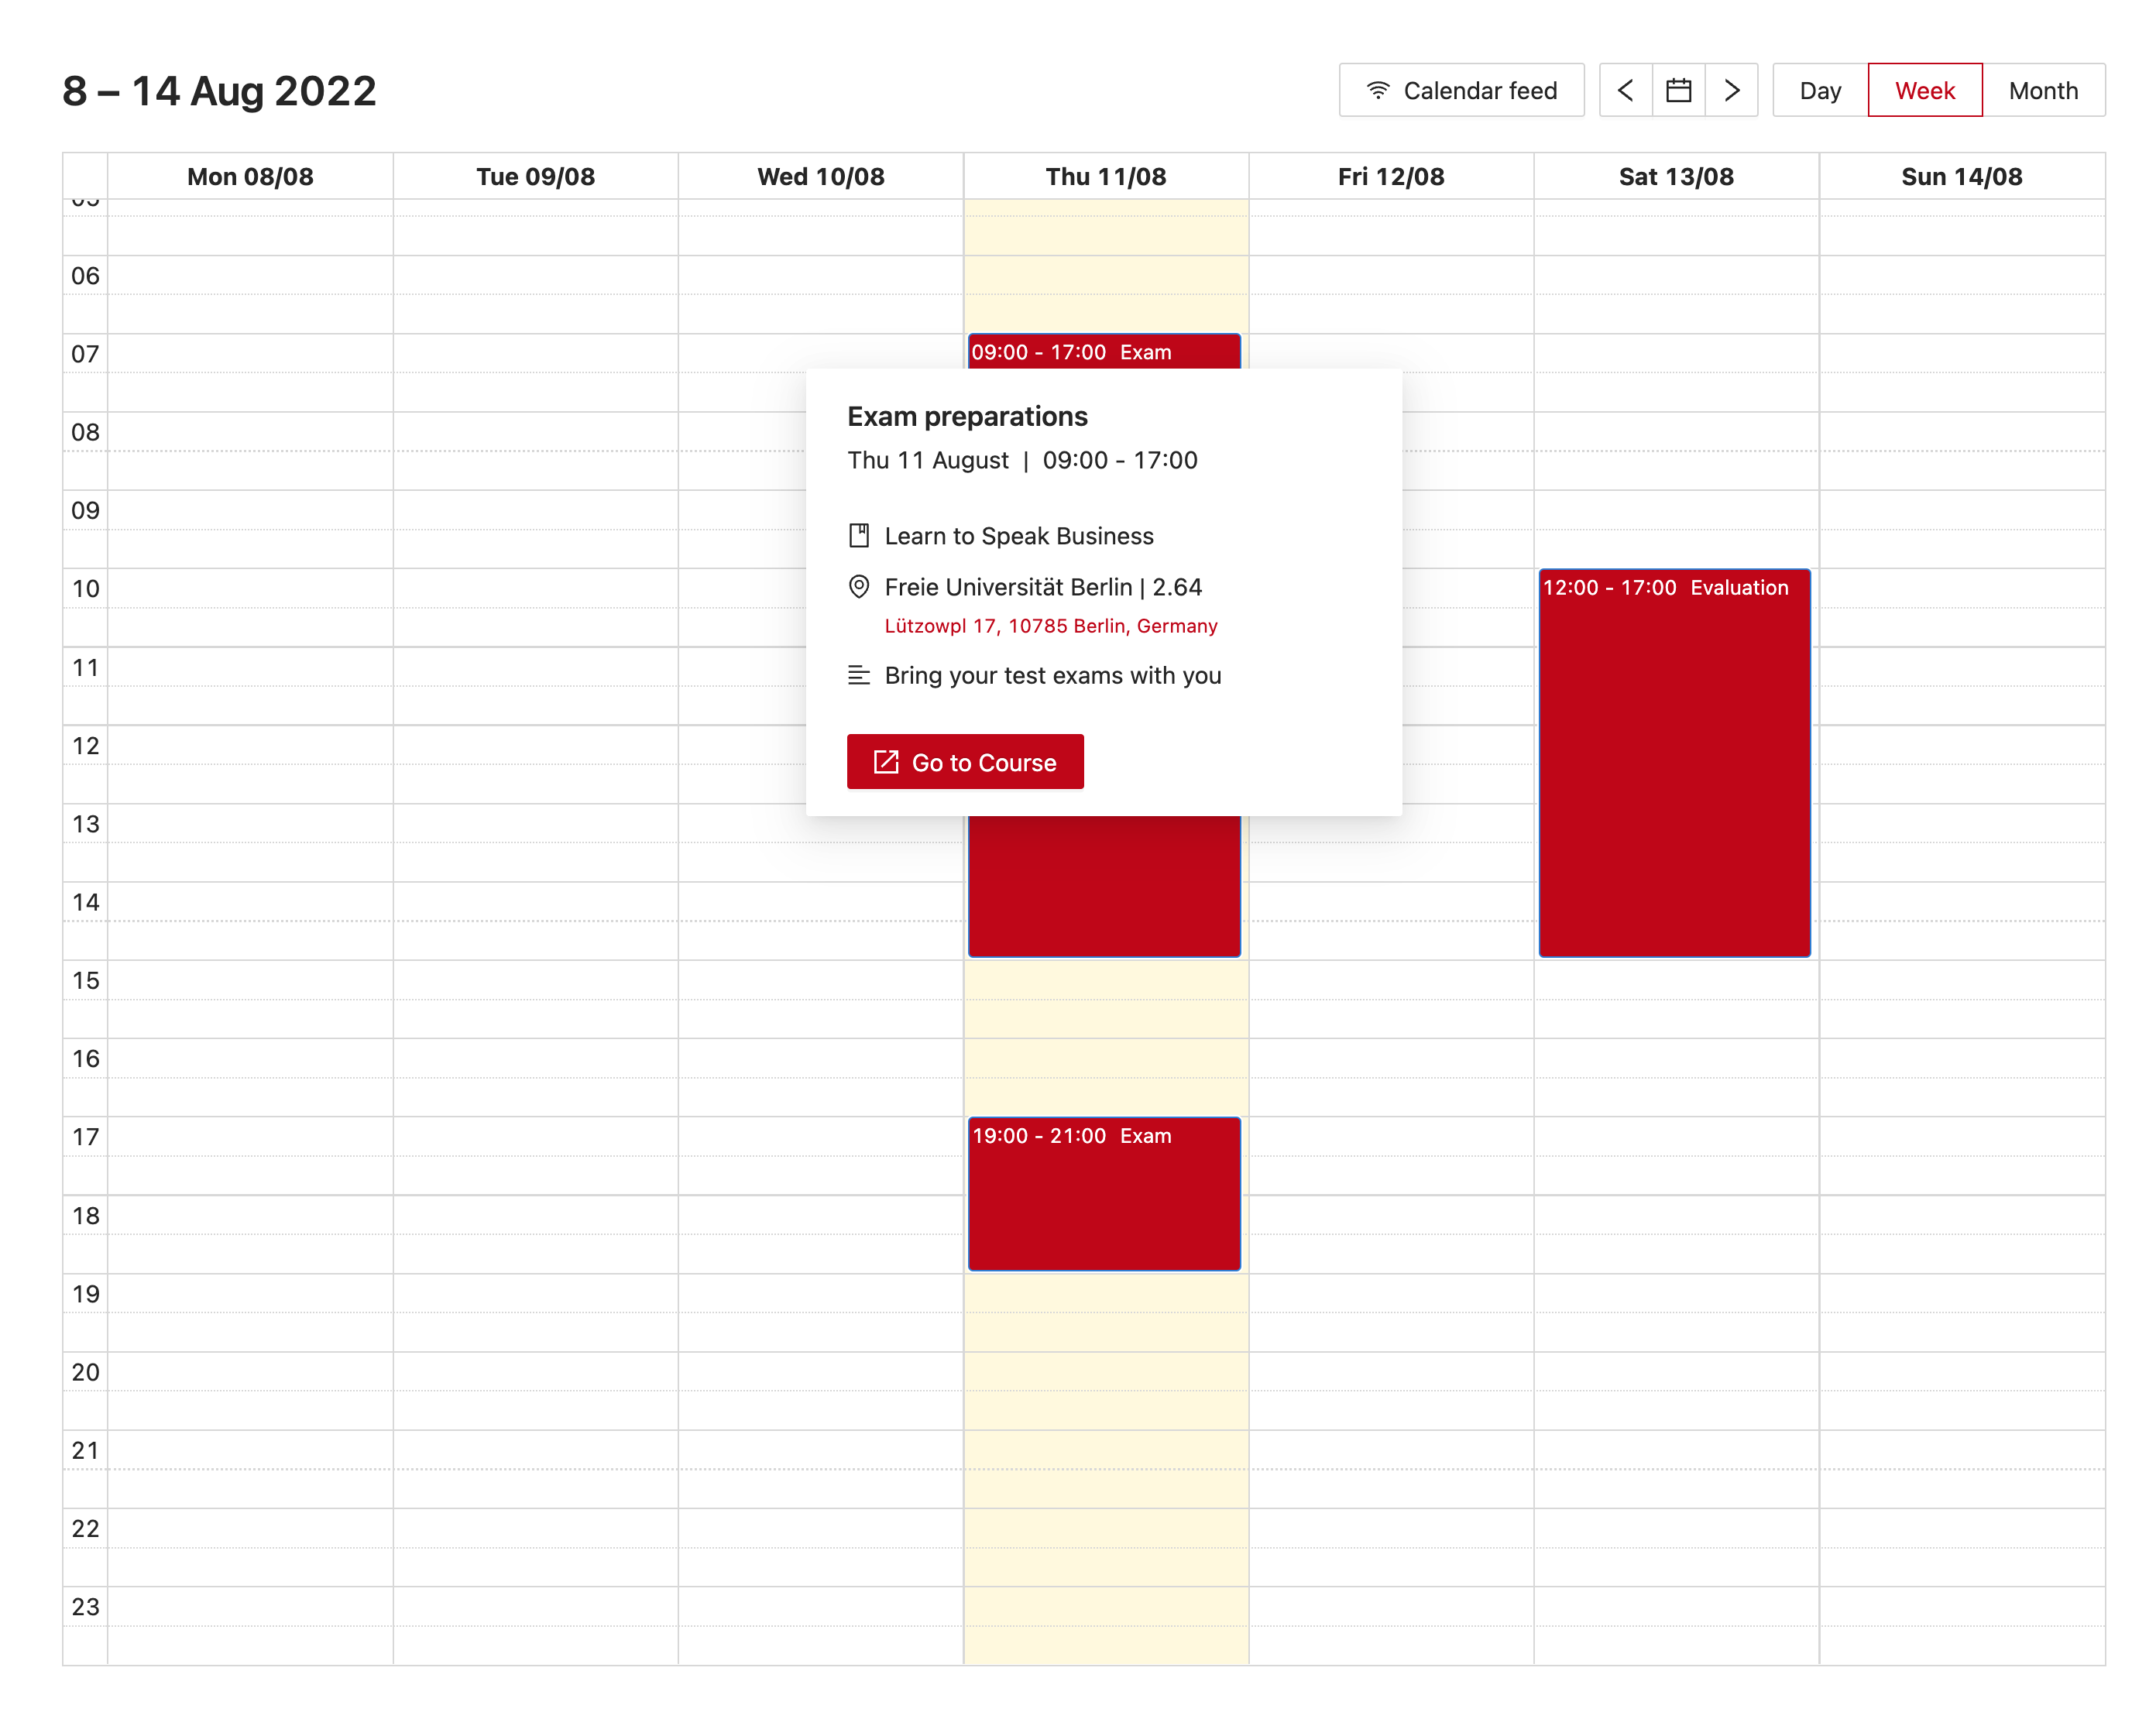
The following image is what participants will see in the participant portal:
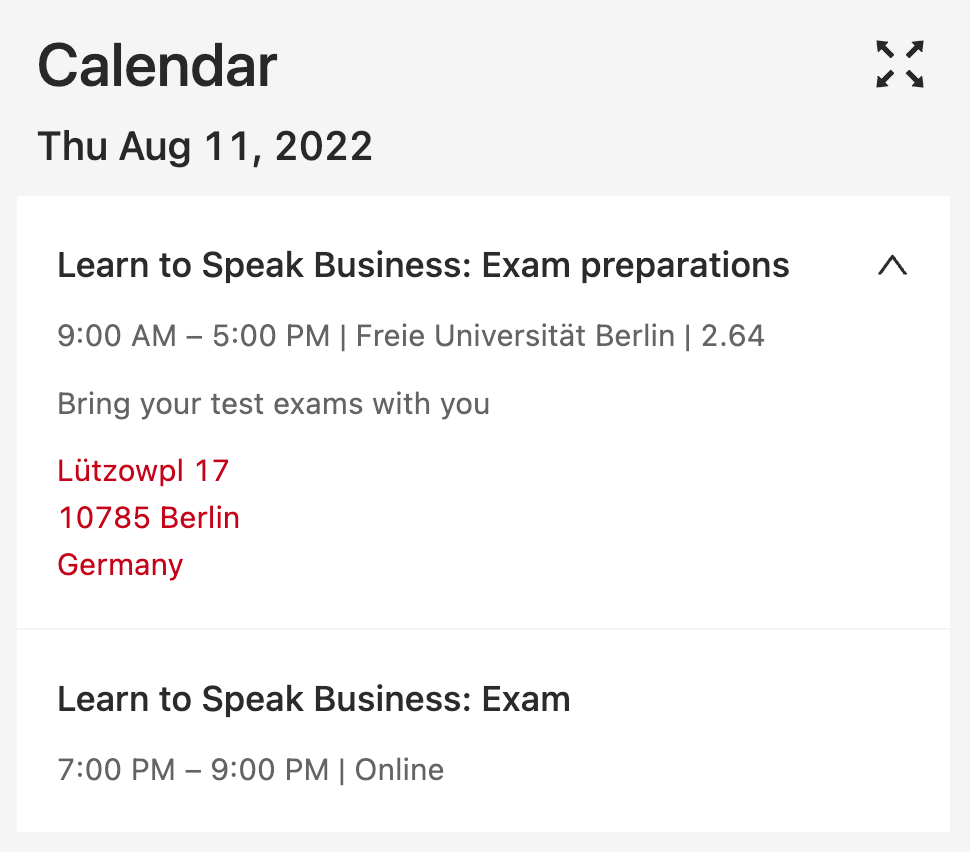
So, participants can see the following information of a meeting:
Meeting name/date/time
Course name
Meeting location
As an admin, you can add a link to Google maps: go to 'Settings' > 'Locations' > Open a 'course location' > Click on the edit icon of the location. An address to the location can be added here. If a valid address is added to the location, a Google maps link will be visible in the participant portal
Comment from the admin
To add a comment open a 'meeting'. Fill in the comment in the 'Comment participants' field of the meeting. This comment is then visible in the participant portal.
A button to go to the course in Canvas is only visible in the participant portal when:
a Canvas environment is connected with your Eduframe environment.
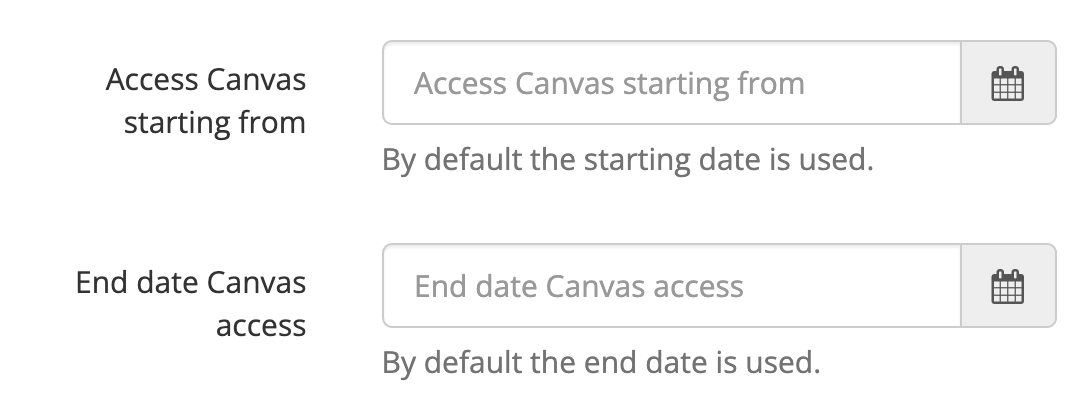
the participant has access to the course in Canvas which is determined per course. You can set a start and end date for Canvas access to a course in Eduframe on course edition level: