How to specify Teacher Roles in Eduframe?
Last updated: August 31, 2026
Summary
In Eduframe, it is possible to assign a specific role to teachers in a course, meeting (template), or subevent. This makes it possible to communicate to teachers what is expected of them. Besides, it is possible to link the Eduframe teacher role to a teacher role in Canvas. If you link the roles, it will automatically sync the teachers into the correct role to Canvas.
Find out more about Teacher Roles in this article.
Step 1: Define the teacher roles
As an admin, you:
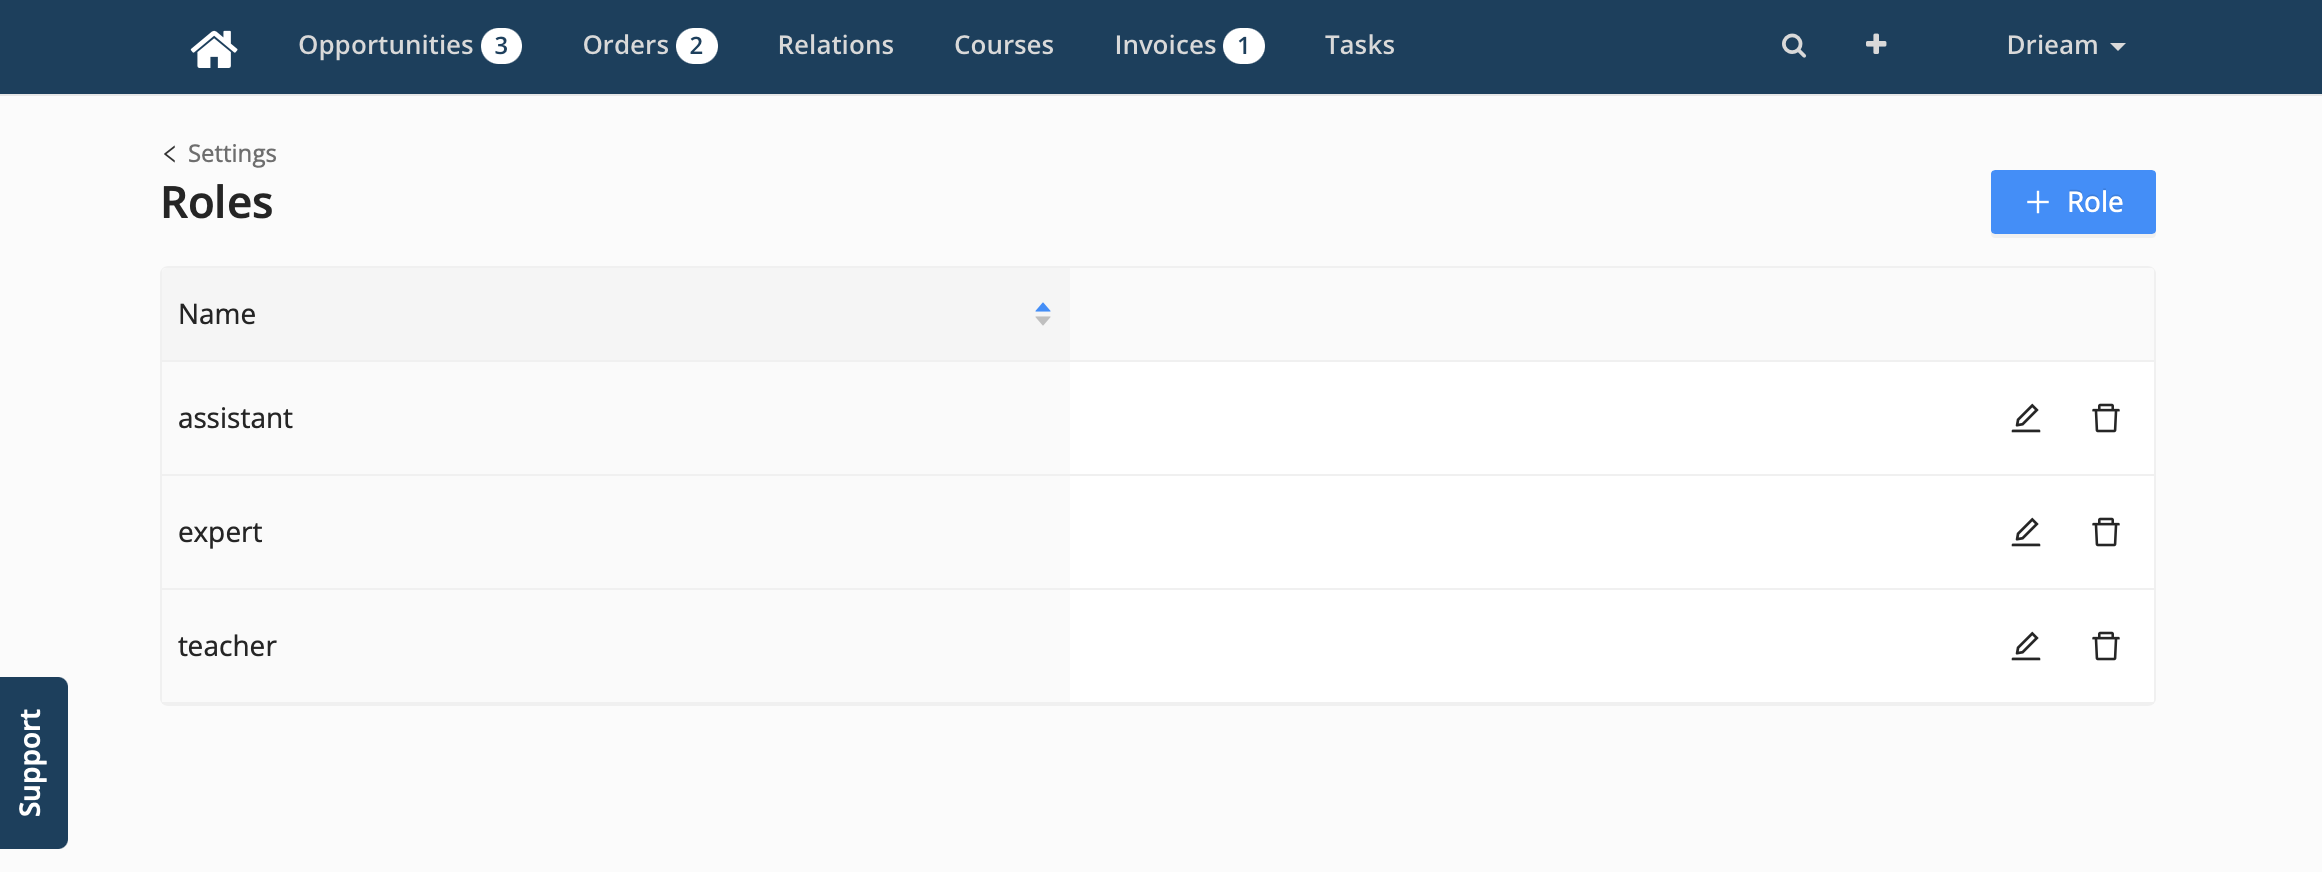
Go to Settings > Teacher Roles in Eduframe.
Click on the '+ Add Role' button.
Give the new role a name and Save the new role.
Step 2: Setup the Canvas roles (optional)
As an admin, go to the 'Permissions' page of your root account in Canvas.
Check the permissions of the standard Course roles or create a new custom role by clicking on 'Add role'.
You can check this article if you want more information about adding a new role.

Step 3: Link the Eduframe teacher role to the Canvas teacher role (optional)
To link the Eduframe teacher roles to the Canvas teacher roles, as an admin, you:
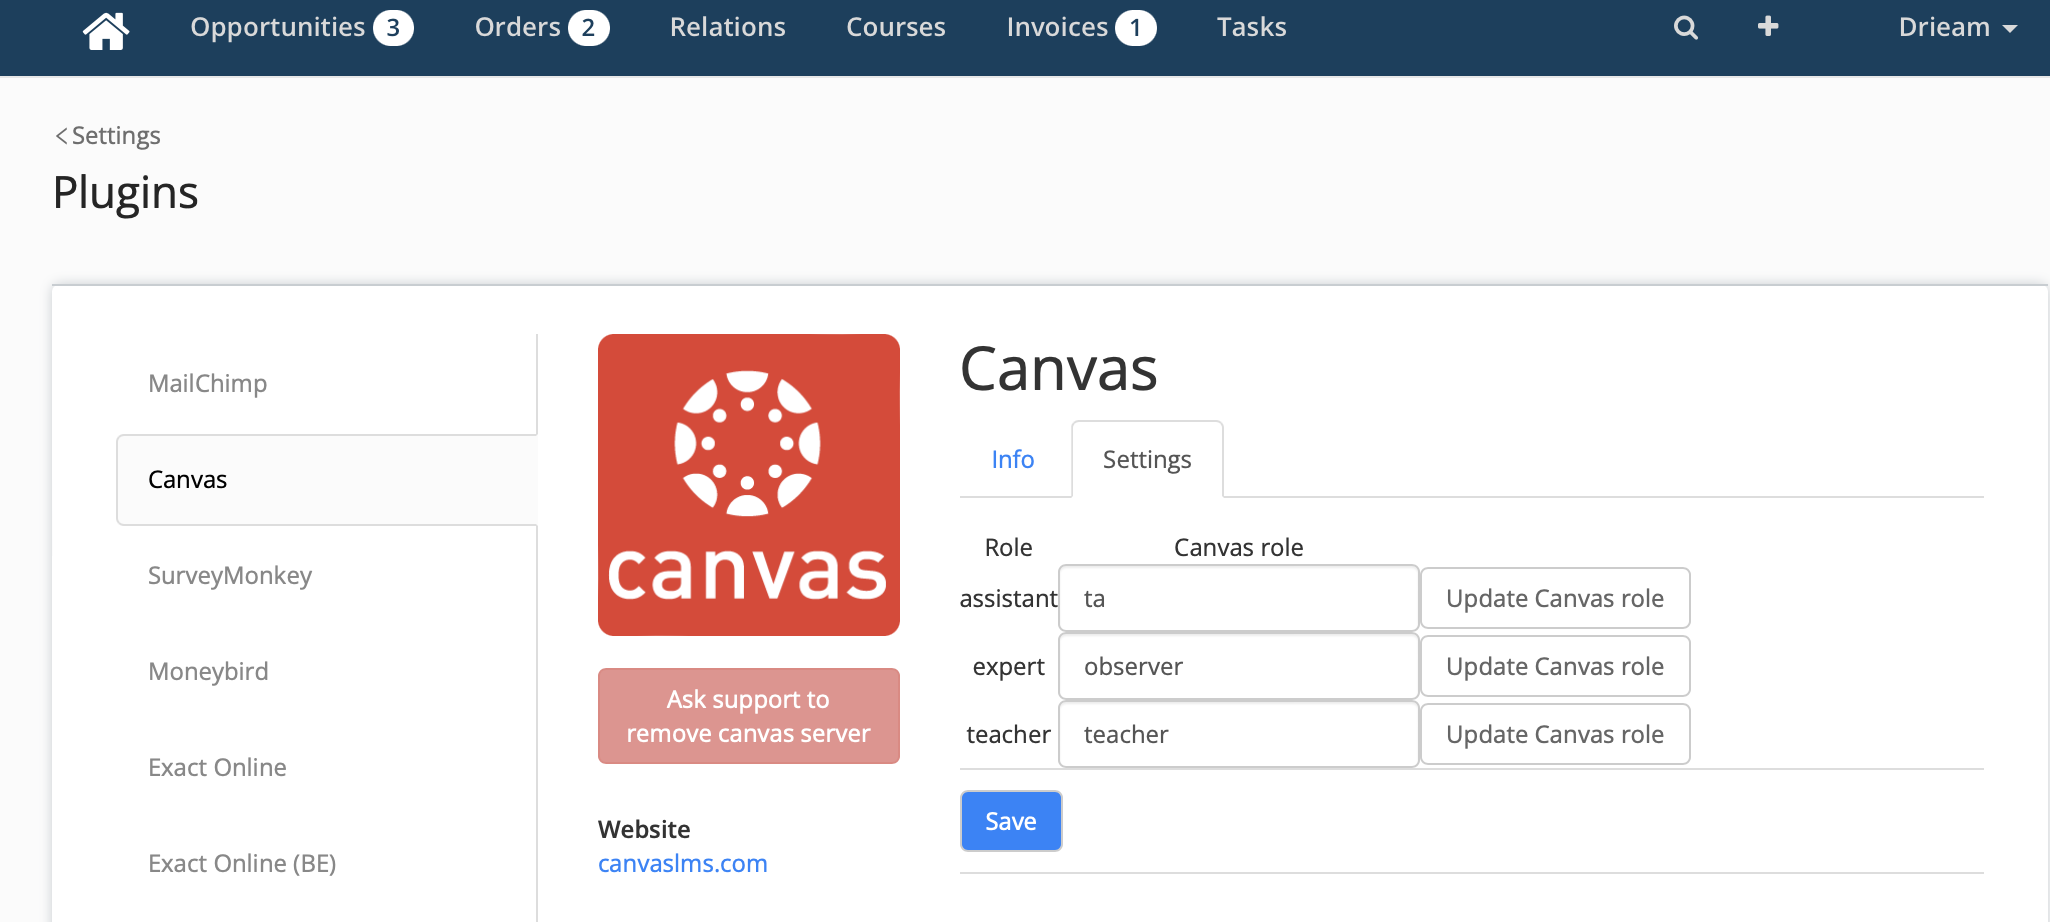
Go to Settings > Plugins > Canvas in Eduframe.
Click on the 'Settings' tab.
Link an Eduframe role with the correct name of the Canvas teacher role that you defined in Step 2 (See table for what name to use for each role).
Click on 'Update Canvas role'.
Link the next Eduframe role to the Canvas role.
Click on 'Update Canvas role'.
Notes:
When you don't fill in a 'Canvas role', the teacher will not be synced to the Canvas course and therefore won't have access. However, the teacher role still can be used within Eduframe to communicate the role of the teacher on a meeting.
When you use a standard teacher role it's not case sensitive. If you create your own custom role it is case sensitive.
Standard or custom Role in Canvas | Role Name in Canvas | Name to use in "Canvas role" input field in Eduframe |
Standard Role | Teacher | teacher |
Standard Role | Designer | designer |
Standard Role | Observer | observer |
Standard Role | TA | ta |
Custom (example) | Actors | Actors |
Custom (example) | Course Designer | Course Designer |
Step 4.1: Add teachers in a specific role to a course
Go to Courses.
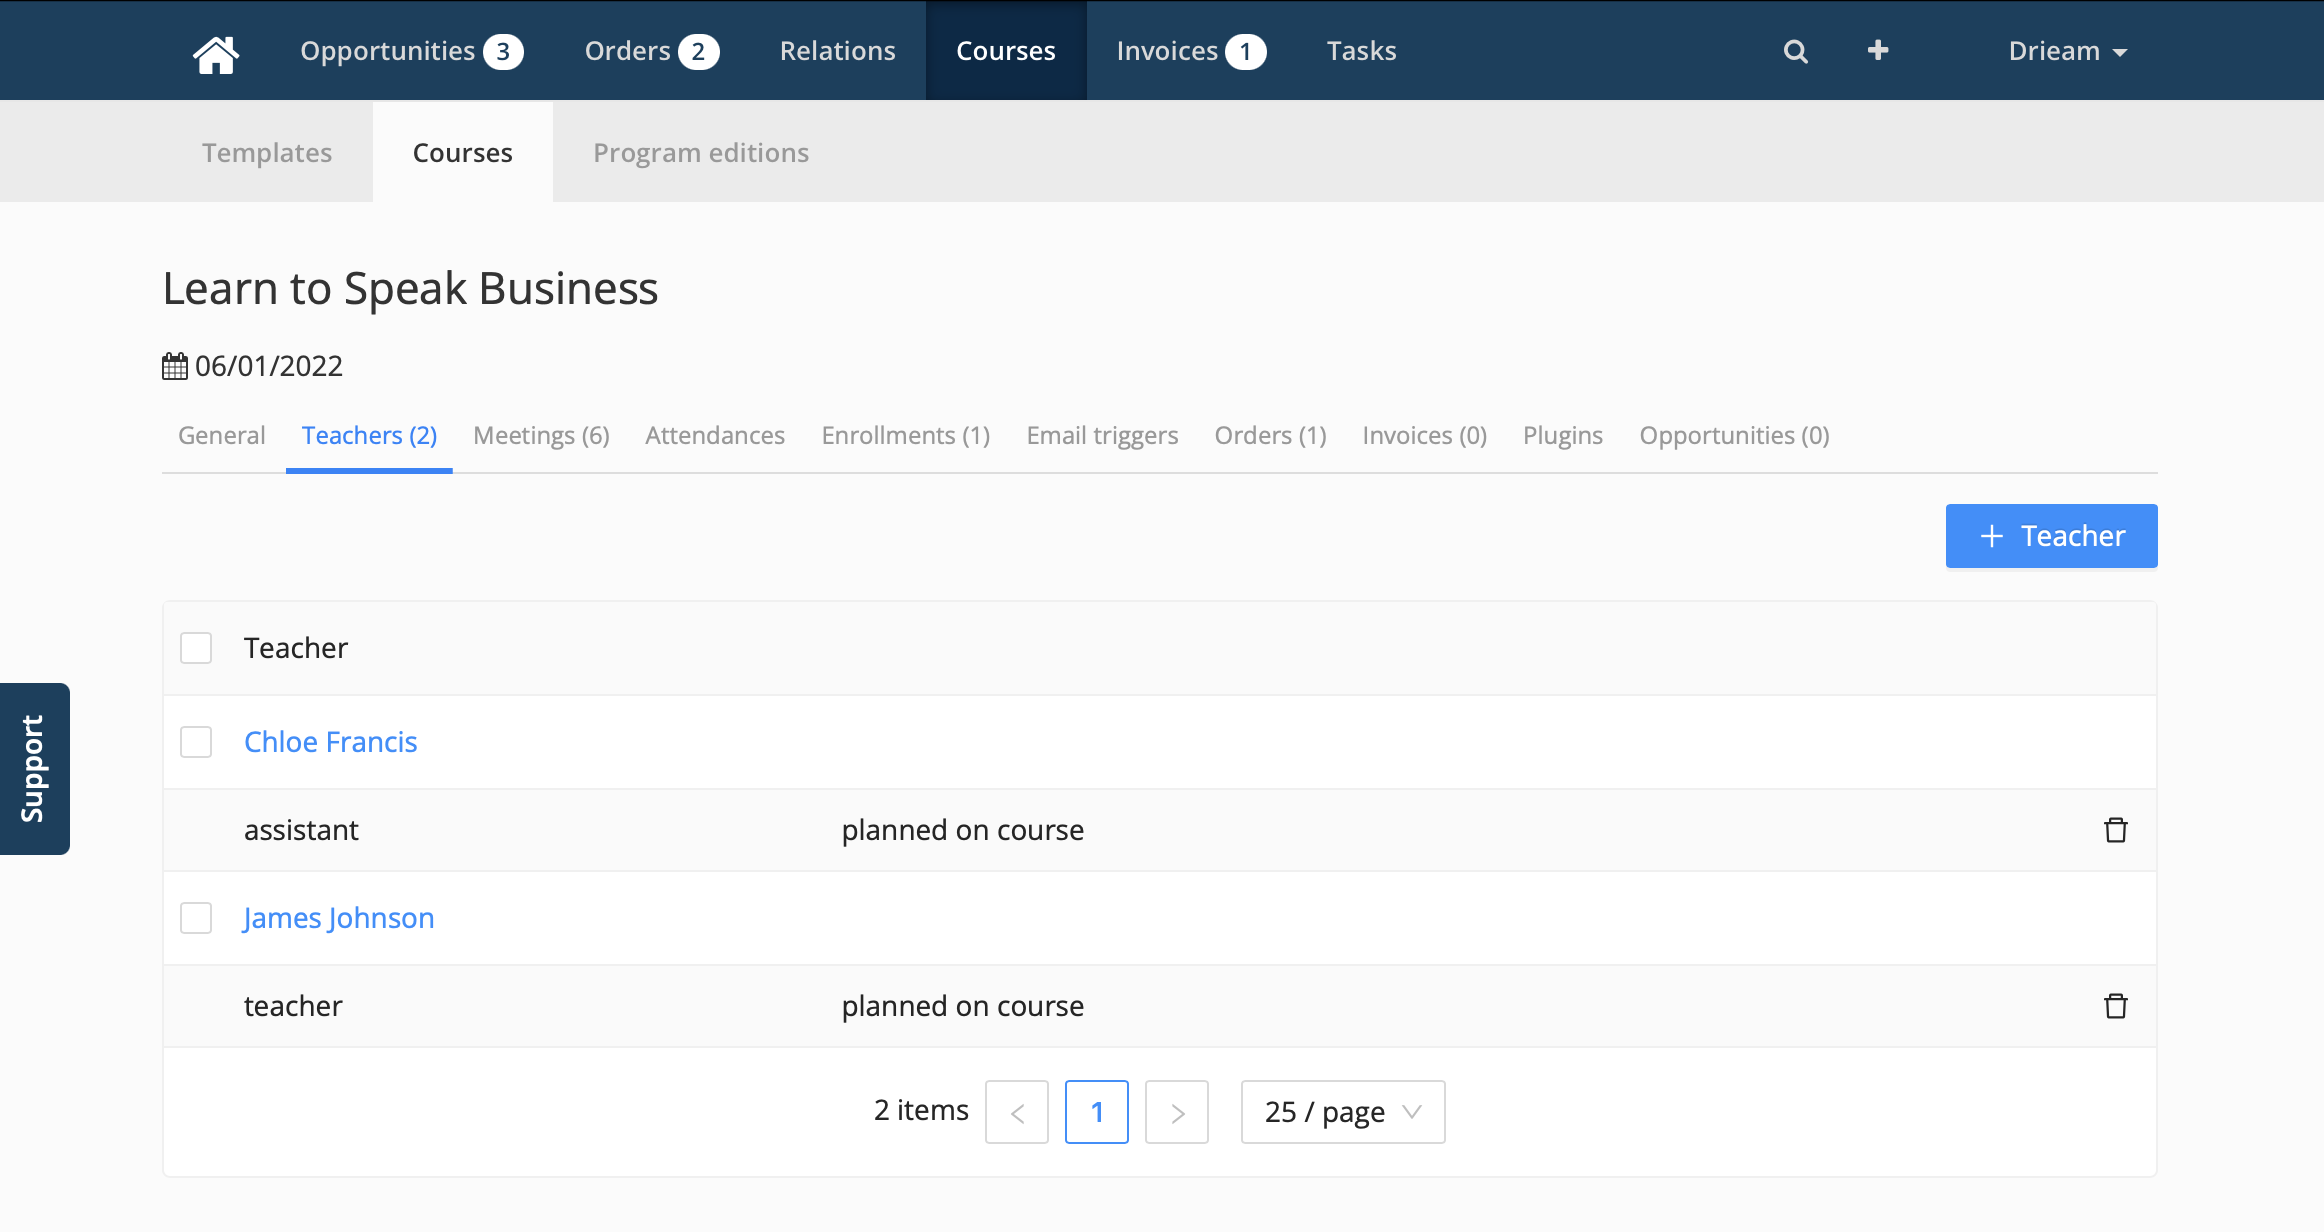
Select a course and go to the 'Teachers' tab.
Add a teacher to the course by clicking on '+ Add Teacher'.
Select the teacher and specify the correct role, click on save.
Now the teacher is added to the course within a specific role and synced to the Canvas course in the linked teacher role.
Step 4.2: Add teachers in a specific role to a meeting (template) or subevent
Go to Courses.
Select a course and go to the 'Meetings' tab.
Click on an existing meeting (or create one).
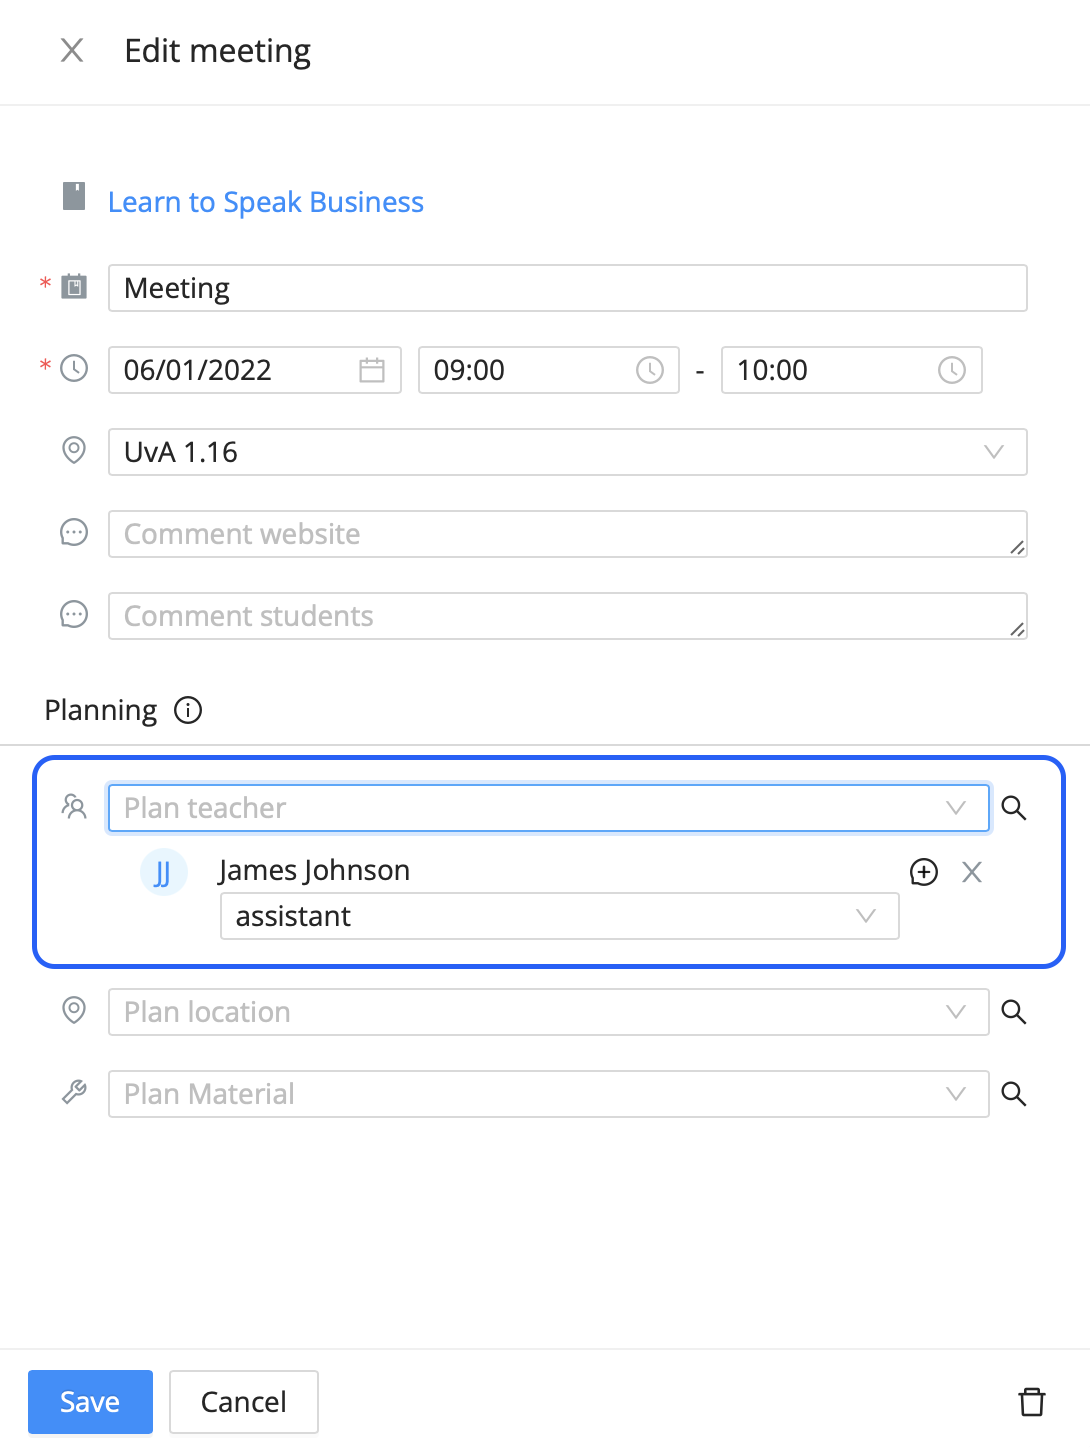
Select a teacher in the 'Plan teacher' select field.
Change the role if necessary.
Save the meeting.
Now the teacher is added to the meeting within a specific role and synced to the Canvas course in that specific role.
By saving the meeting, the teacher will automatically be added to the Teachers tab where it you can see that the teacher is planned on 1 or more meetings.
Note: It is also possible to add the teacher in a specific role to subevents or meeting templates.